|
Confirmation of Privacy PolicyPlease note that some functions of this website require you to agree to the terms and conditions that are outlined in our privacy policy. Until then, this message will be displayed from time to time. With your consent, you also agree to the use of cookies. Additionally, by using this website, you accept that non-personalized log and tracking information from accessing our website can be saved and processed according to our privacy policy. |
|||
|
Knowledge Base / FAQ
ID: KB00239EN | short link:
Installation of GIGAPORT HD under Windows Vista/7/8.1/10 (from v3.3)
Introduction
This text describes how to install the GIGAPORT HD driver under Windows 10 (32- or 64-bit) with driver versions starting from version 3.3. The process is virtually the same for Windows Vista, Windows 7, Windows 8 and Windows 8.1. A description of the installation with earlier drivers (up to version 3.0) can be found here.
Preparation
If GIGAPORT HD is connected to your computer with the USB cable, disconnect it now. You will need to connect it again later during the installation.
Make sure that you have downloaded and unzipped the driver file with the driver you are about to install.
Installation
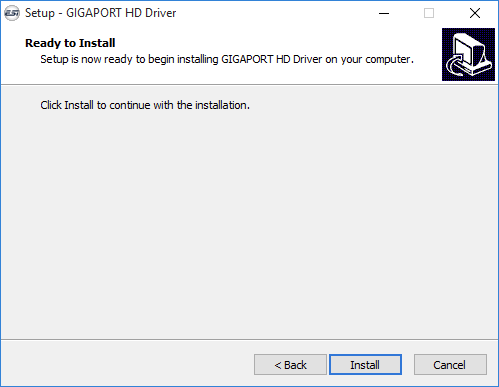
To start the installation, launch the setup program, which is an .exe file that is inside the driver download, by double clicking on it. Typically the filename is something like GIGAPORT_HD_vX.YY_setup.exe where X.YY is the version number of the driver. When launching the installer, Windows might display a security message. Make sure to allow the installation. After that, the following dialog will appear:

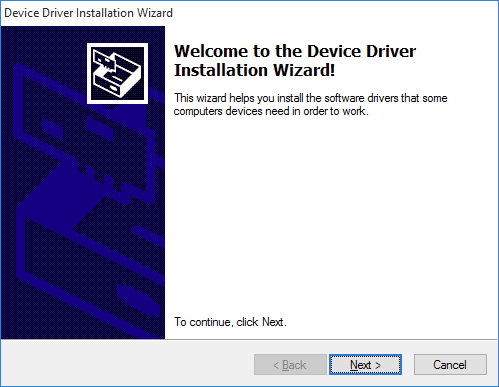
Click Next and then the following dialog will appear:
Now click Install. Files are now being copied. After some time an additional dialog will appear:
Confirm this by clicking Next. Again some files are being copied and typically you will be prompted with a Windows Security message like this:
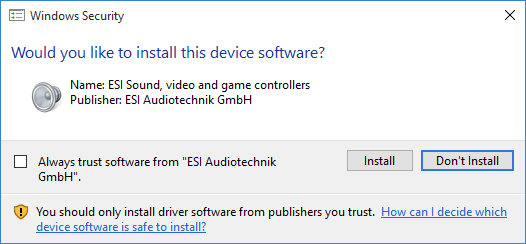
Confirm it by clicking Install. After a while the installation then will be completed and the following dialog will appear:
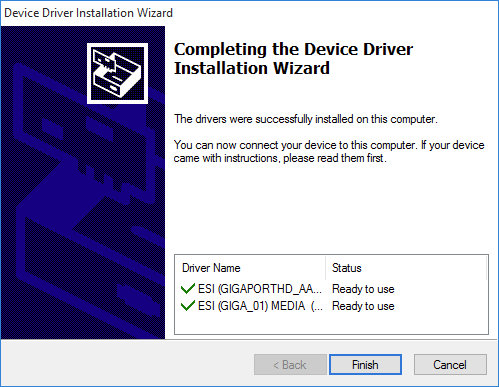
Once you see this, click Finish.
Now you need to connect GIGAPORT HD to your computer with the USB cable. Windows will automatically install the driver for it, which is a process that runs in the background and normally takes a few seconds (up to a couple of minutes). Once this process is finished, please restart your computer manually. Once the system starts again and you are logged in, you will see that the GIGAPORT HD control panel is now automatically being loaded and displayed - the installation is finished.
Uninstallation
In case you need to uninstall the driver at a later time, you will find it under Settings > System > Apps & features (under Windows 10) or in the list of installed Programs in Windows Control Panel (with previous Windows versions). You can simply remove it there.
Related products
More support pages |
Tags
Download
|